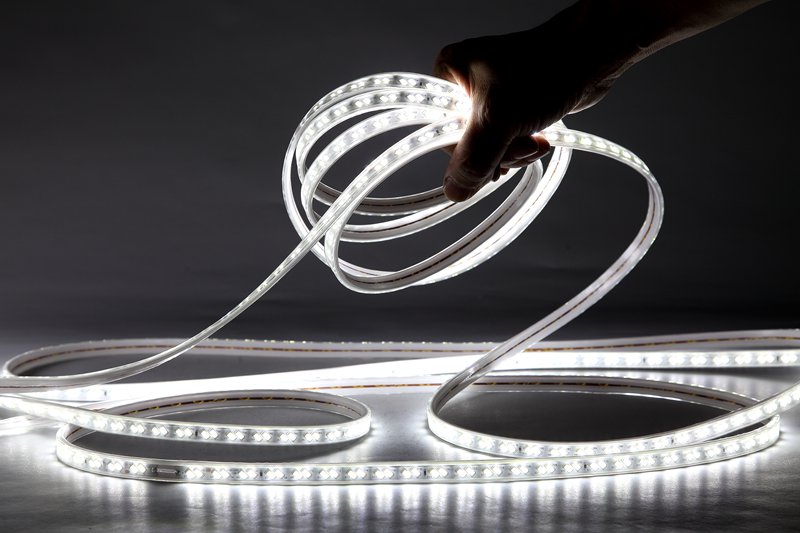
Led Light Strip Set is a popular choice for homeowners looking to update their lighting fixtures. These strips are versatile, energy-efficient, and easy to install. However, connecting led strip lights may seem daunting if you're unfamiliar with the process. In this article, we'll guide you through the steps to connect LED light strip set.

Step 1: Choose the Right Strip Light Set
The first step in connecting led strip lights is to choose the right strip light set for your needs. Look for a set that has the right length, brightness level, and color temperature to suit your home decor.
Step 2: Gather Your Tools
To connect LED light strip sets, you'll need a few tools, including a wire cutter/stripper, a soldering iron, and heat shrink wrap.
Step 3: Cut and Connect Sections
Using the wire cutter/stripper, cut the strip to the desired length. Next, connect the sections of the strip by soldering the ends of the wires together. Make sure to use heat shrink wrap to protect the connection.
Step 4: Attach the Power Supply
Once you've connected the sections of the LED strip lights, you'll need to attach the power supply. Most LED strip light sets come with a power supply that plugs into a wall outlet. Simply connect the wires of the power supply to the strip by soldering them together.
Step 5: Test the Connection
Finally, test the LED strip lights to ensure they're working correctly. Plug in the power supply and turn on the lights. If everything is working correctly, you should see the lights come on.
Conclusion
Connecting LED light strip set is an easy process that can be completed by anyone with basic DIY skills. By following these simple steps, you can create a custom lighting fixture that will enhance the ambiance of your home while providing energy-efficient lighting. Remember to choose the right strip light set, gather your tools, cut and connect the sections, attach the power supply, and test the connection to enjoy a beautifully illuminated home.